When we talk about skincare that actually works and feels soulful, we can’t skip the roots, literally. Herbal infusions are one of the most beautiful, grounding, and effective ways to bring the healing power of nature into your formulations. Whether you’re crafting a soothing balm, a clarifying toner, or a hair oil that smells like your nani’s remedy cupboard, infusions are the bridge between ancient herbal wisdom and modern skincare science.
As a formulator, the magic lies not just in what herbs you use, but how you extract their goodness. The right infusion technique can mean the difference between a bland product and one that feels alive, vibrant with aroma, color, and real, skin-loving actives.
This isn’t just a nostalgic nod to Ayurveda or folk remedies. It’s about smart, intentional formulation. When you infuse with purpose, choosing your medium, temperature, and timing wisely, you’re elevating your product from simple DIY to professional-grade skincare. So let’s dive deep into the infusion methods every formulator should have in their toolkit.
Understanding Infusions: What Are They Exactly?
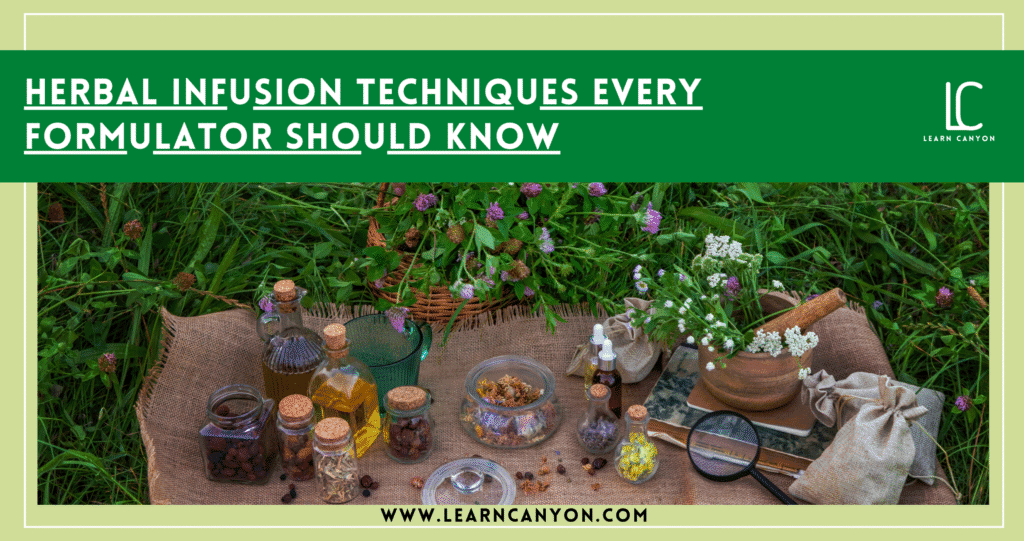
Let’s clear the fog around a term we toss around often, infusion. At its core, infusing is just the process of soaking herbs in a liquid medium to extract their beneficial compounds. Think of it like making a cup of herbal tea, but with intention, precision, and a purpose far beyond sipping.
In cosmetic formulation, we typically infuse herbs into water, oil, glycerin, alcohol, or even vinegar, depending on the type of actives we want to extract. Water pulls out hydrophilic compounds like mucilage, tannins, and flavonoids. Oil captures the lipophilic goodness, like essential oils, fatty acids, and resins. Alcohol digs deep, extracting alkaloids and phenolic compounds, while glycerin offers a gentler, humectant-rich option for sensitive skin formulations.
The goal? To extract the soul of the herb, its aroma, color, and most importantly, its therapeutic properties, into a medium your skin or hair can absorb and benefit from.
And no, it’s not just about tossing herbs into oil and hoping for the best. Timing, temperature, solvent, and even the cut of your herb (powdered vs. whole) all influence how effective your infusion will be. As a formulator, understanding this gives you the power to design your products with real botanical intelligence.
So whether you’re crafting a calming chamomile toner or a hair oil powered by bhringraj and amla, it starts with mastering this foundational technique.
Cold Infusion
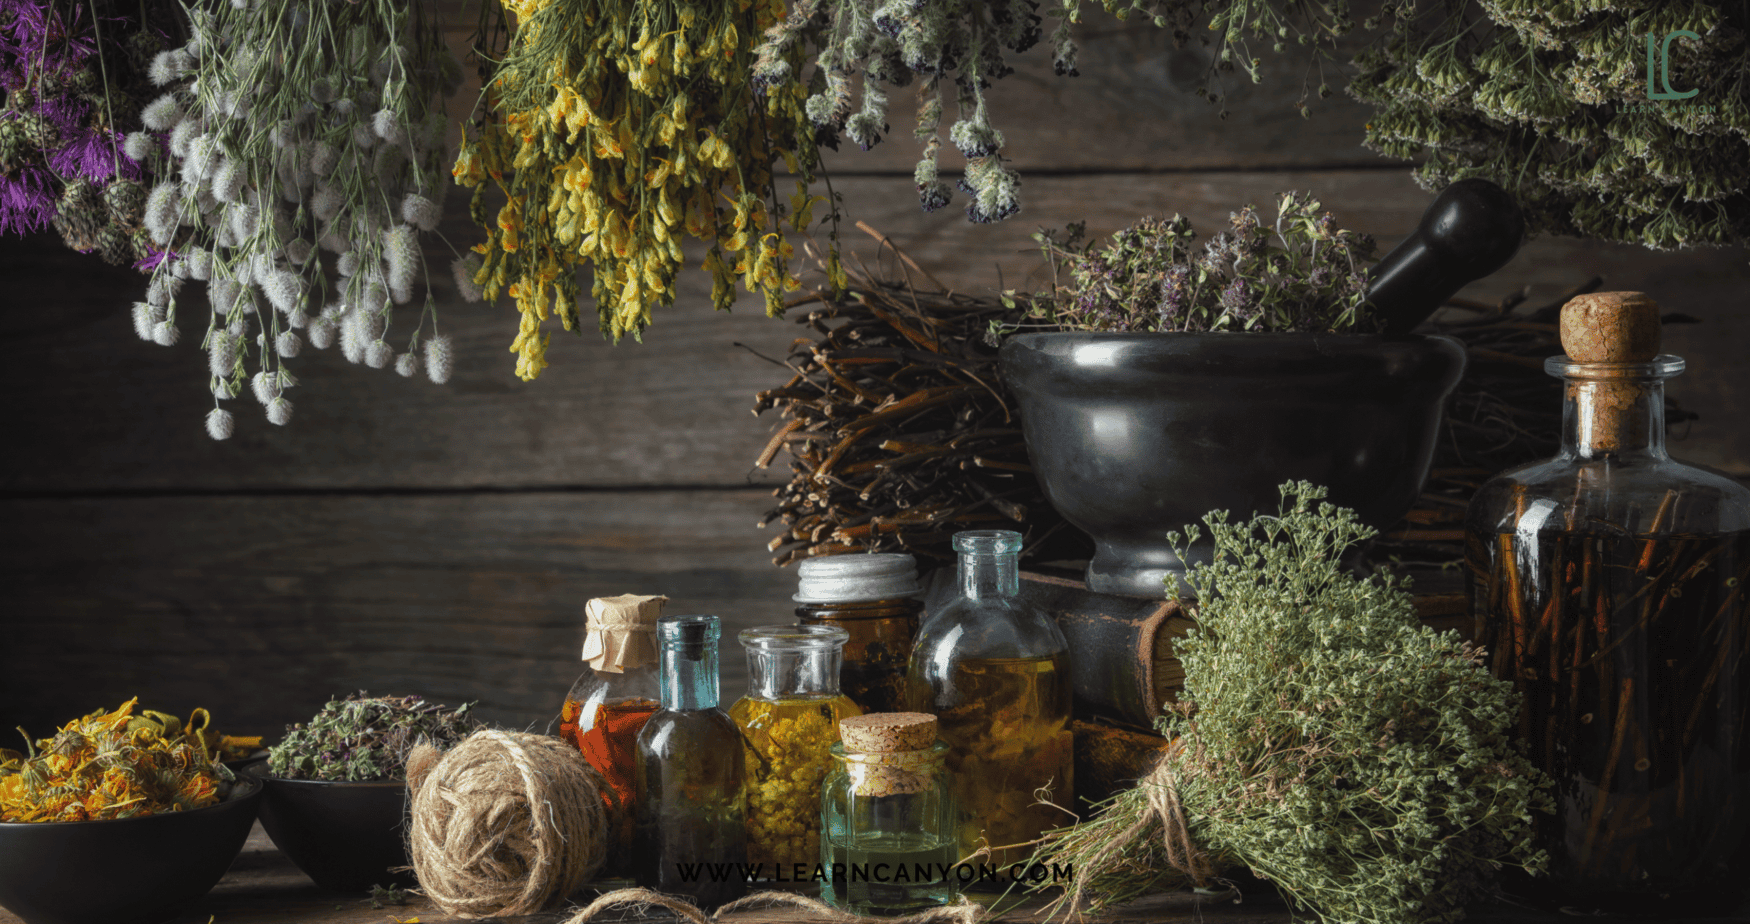
Cold infusion is like slow magic. It’s the kind of method that asks you to pause, breathe, and let time do the work. No heat, no rush, just a patient steeping of herbs in your chosen medium, usually oil or water, over days or even weeks. And the result? A subtle but potent extract that holds the integrity of delicate phytochemicals beautifully.
As a formulator, I reach for cold infusion when I’m working with fragile herbs, like rose petals, calendula, chamomile, hibiscus, or anything that could lose its charm when exposed to heat. Cold infusion preserves their mucilage, enzymes, and antioxidants, which can degrade quickly with heat. It’s especially ideal for creating gentle formulations for sensitive or inflamed skin.
The process is simple but deliberate:
- Lightly crush or chop your dried herb (to expose more surface area).
- Submerge it in your solvent, whether it’s jojoba oil, distilled water, or glycerin.
- Store it in a cool, dark place.
- Shake it gently every day.
- Let it infuse for 2–6 weeks, depending on the herb and your formulation goals.
What I love about cold infusion is how it honors the plant in its most natural state. It teaches you patience and builds your relationship with the ingredient. But it’s not without its quirks, cold-infused products may have milder scent and color, and the process takes time. Still, if you’re formulating for sensitive skin or creating a base where subtlety matters, this method is gold.
And bonus? Cold infusions are beginner-friendly and low-risk, no overheating, no burnt actives, just botanical love at its own pace.
Heat Infusion
Now let’s talk about heat infusion, the bold, efficient cousin of the cold method. Where cold infusion is about patience, heat infusion is all about speed and intensity. This method uses gentle heat to encourage the release of active compounds from herbs into your chosen solvent, making it ideal for those moments when you’re on a tighter timeline or working with tougher plant materials.
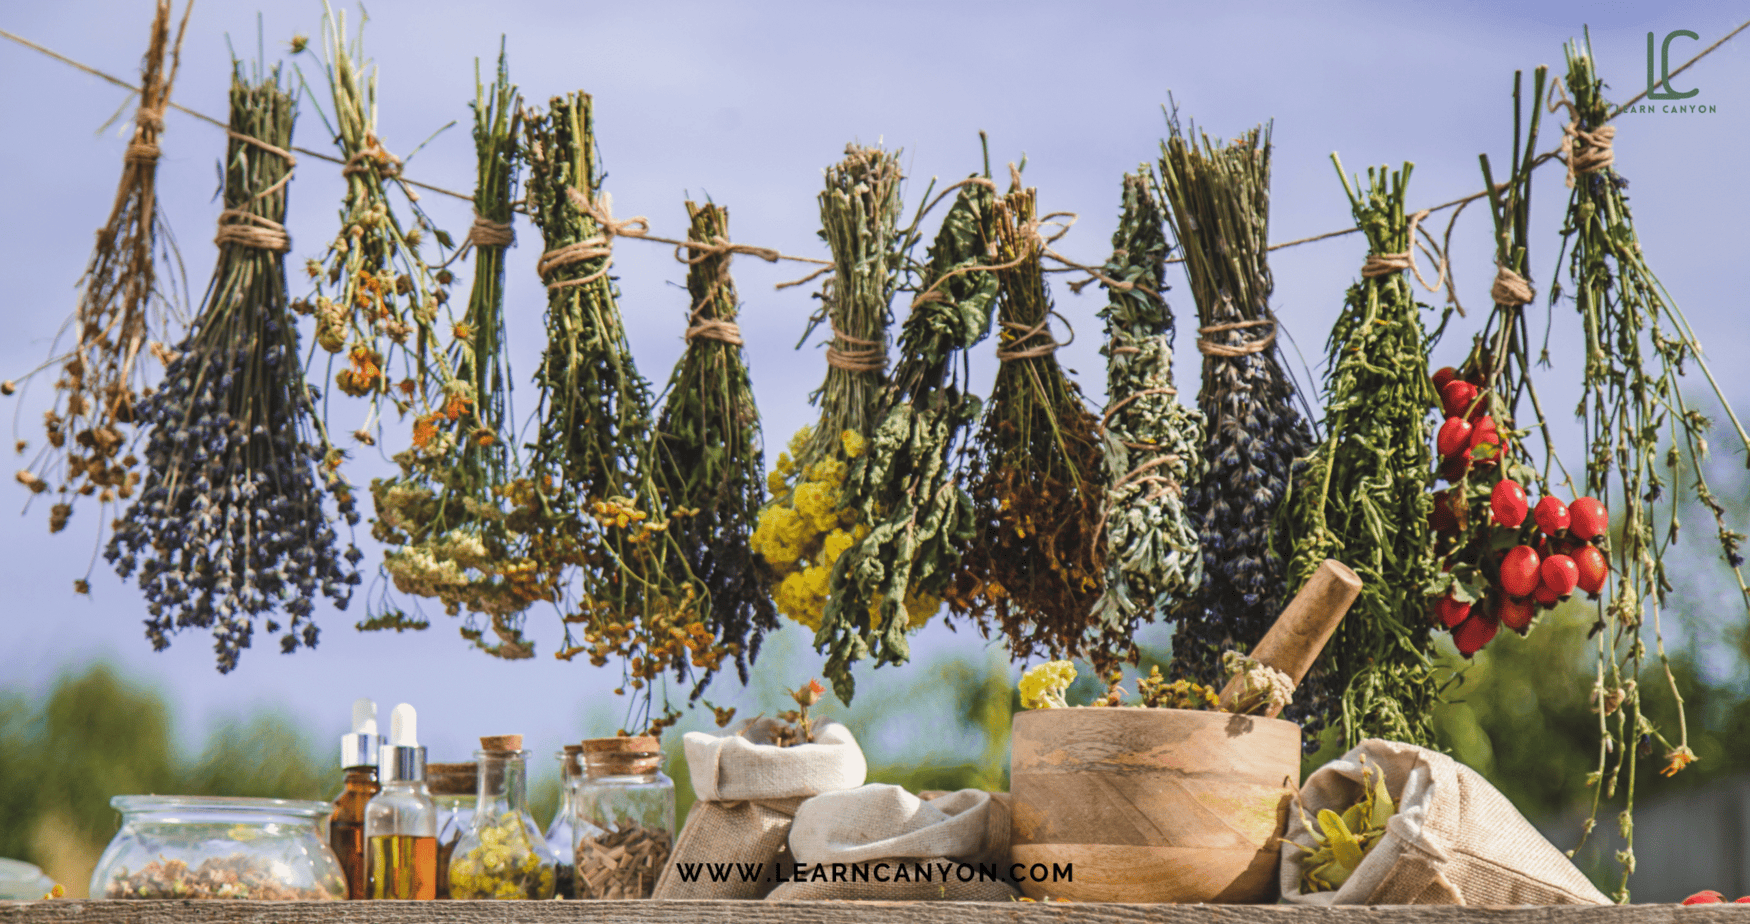
I turn to heat infusion when I’m working with roots, barks, seeds, or woody herbs, think bhringraj, amla, turmeric, ashwagandha, or neem. These herbs need a bit of encouragement to release their deep-seated actives, and warmth helps soften their structure and accelerate the extraction process. You get a stronger aroma, deeper color, and a more robust concentration of actives, sometimes in just a few hours.
Here’s how I like to do it:
- Use a double boiler or warm oil bath to infuse your herbs, low and slow is key.
- Keep temperatures between 35°C to 55°C (never let it smoke or boil).
- Infuse for 1 to 6 hours, depending on the herb and the oil.
- Strain well and store in a dark glass bottle with an antioxidant like Vitamin E.
Heat infusion is perfect for when you need a more potent extract, faster, especially in commercial batches or for products where you need color, scent, and performance right away. But it does come with a few cautions: high heat can degrade delicate constituents, and if you’re not careful, it can even oxidize your oil.That’s why I always say, watch your temperature like a hawk and always choose heat-stable oils (like coconut, sesame, or olive) for this process. With the right approach, heat infusion becomes a power tool in your formulating arsenal.
Alcohol, Glycerin, and Vinegar Infusions – Not Just Water or Oil
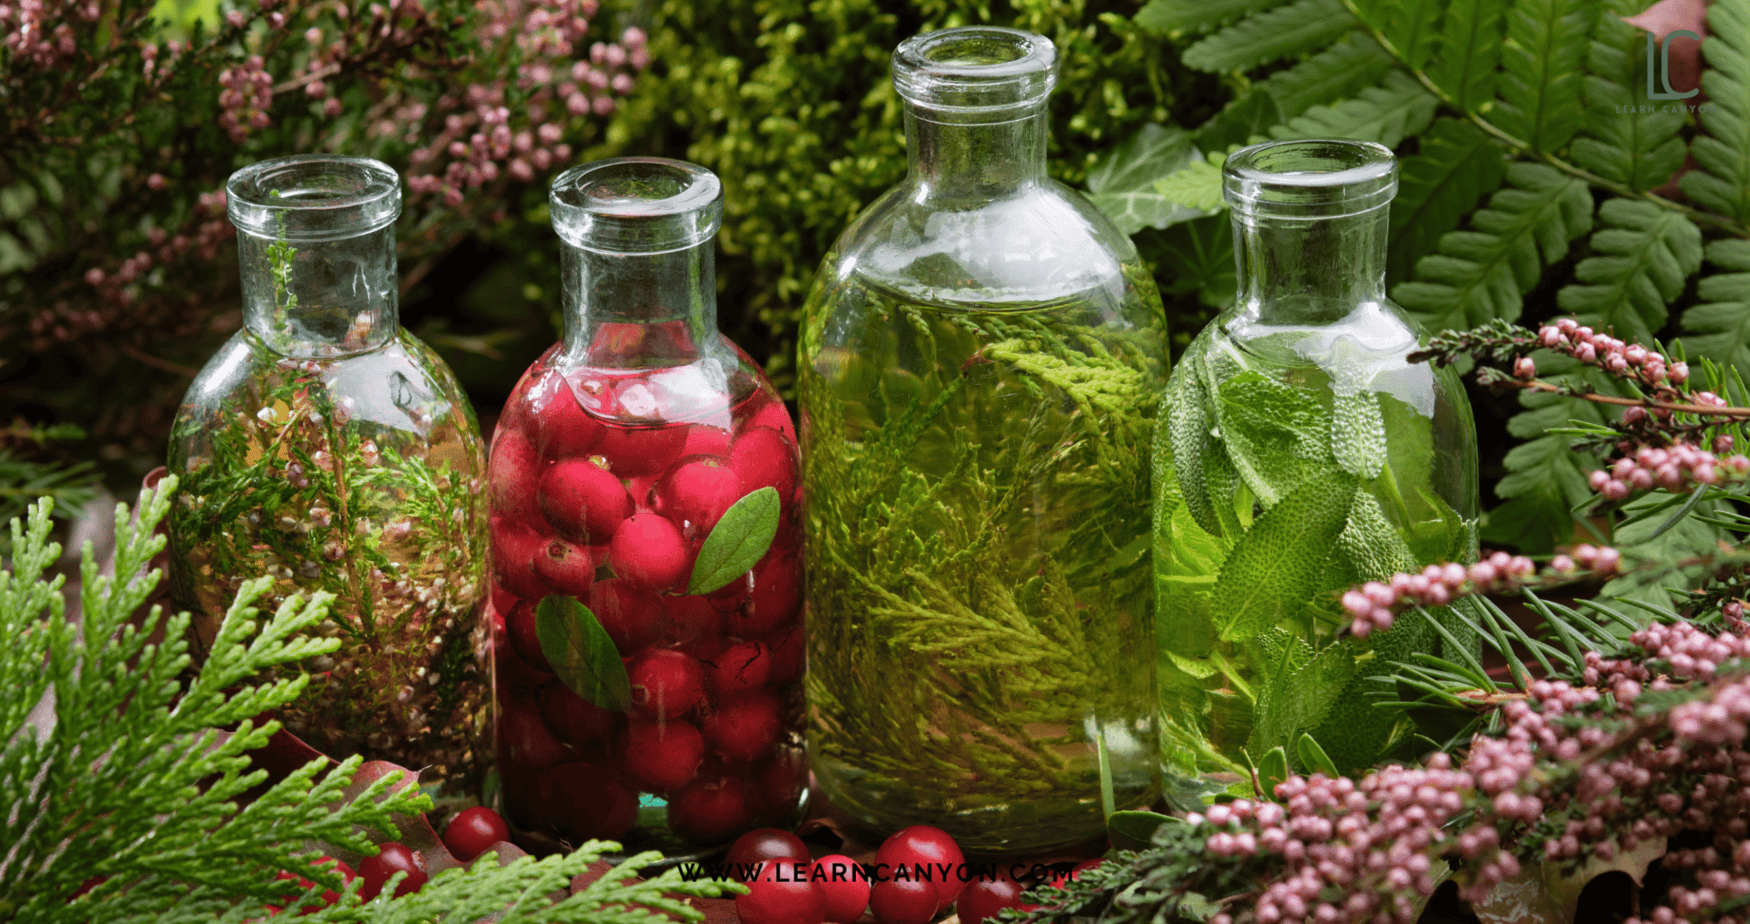
Let’s step beyond the usual water and oil for a moment, because the world of herbal extraction is far richer than many formulators realize. Enter the unsung heroes: alcohol, glycerin, and vinegar. Each of these mediums brings its own personality, benefits, and perfect-use scenarios, and as a formulator, knowing when to reach for them is a game-changer.
Alcohol Infusions (aka Tinctures)
These are your go-to when you need powerful, fast-acting extracts, especially if you’re targeting alkaloids, resins, and polyphenols. Alcohol is an excellent solvent for pulling out constituents that water or oil can’t reach. Think of ingredients like turmeric, licorice root, neem, and gotu kola.
Tinctures are often used in spot treatments, tonics, or even added in tiny amounts to emulsions for active delivery. But yes, they can be drying or too strong for sensitive skin, so they must be diluted and used wisely.
Glycerin Infusions (Glycerites)
This is my personal favorite when formulating for sensitive skin or baby products. Glycerin is gentle, moisturizing, and water-soluble, making it perfect for hydrating serums, mists, or cleansers. While it doesn’t extract as broadly as alcohol, it’s great for mild herbs like rose, calendula, or chamomile.
Bonus: glycerites are often self-preserving at the right concentration (above 50%), and they offer both humectancy and botanical benefits in one lovely, syrupy medium.
Vinegar Infusions
Often overlooked, but oh-so-beautiful in scalp care, hair rinses, and pH-balancing skin products. Apple cider vinegar infused with herbs like nettle, hibiscus, rosemary, or horsetail can tone the scalp, reduce itchiness, and restore shine to hair.
They’re also wonderful for acne-prone skin, thanks to vinegar’s natural astringency and ability to balance the skin’s microbiome.
So, the next time you’re thinking of infusing herbs, ask yourself:
Do I need deep extraction (alcohol)? A soothing hydrator (glycerin)? A pH balancer (vinegar)? These mediums might not get the spotlight often, but trust me, they deserve a front-row seat in your formulation journey.
Choosing the Right Method for the Right Formula
Here’s the real secret to mastering herbal infusions: it’s not just about knowing the methods, it’s about knowing when to use them. Every infusion technique has its own strengths, and your job as a formulator is to align those strengths with your product’s purpose.
So how do you choose?
Let’s break it down like I would in the lab:
Water-Based Products (Toners, Gels, Mists):
You’re working with a water base, so you’ll want herbs rich in hydrating polysaccharides, antioxidants, and anti-inflammatory compounds.
Use cold or warm water infusions for gentle herbs like rose, chamomile, marshmallow root, or green tea.
Or go with glycerites for an alcohol-free, skin-soothing boost.
Emulsions (Creams, Lotions, Serums):
Here’s where things get interesting, you can use a combination of oil and water infusions!
- Try a heat-infused oil with herbs like neem, ashwagandha, or turmeric for skin repair.
- Pair it with a cold-infused hydrosol or tincture in the water phase for added actives.
Oil-Based Products (Balms, Body Oils, Hair Oils):
Your main solvent is oil, so extract those lipophilic compounds, essential oils, fatty acids, fat-soluble vitamins.
- Cold-infuse petals and aromatic herbs for a subtle, nourishing vibe.
- Heat-infuse roots or barks for strength and performance, think bhringraj + coconut oil for hair, or licorice + sesame oil for pigmentation.
Haircare (Scalp Rinses, Conditioners, Serums):
Use vinegar infusions if you’re balancing scalp pH or dealing with dandruff.
Combine this with an herbal glycerite for scalp hydration and barrier support.
Targeted Treatments (Spot Serums, Roll-ons, Sprays):
Go for the heavy hitters, tinctures or concentrated glycerites, especially if you want fast, active delivery.
Just remember to test for skin compatibility and always dilute as needed.The key takeaway? Your infusion method should always reflect your formula goals, your skin concern, and your chosen solvent. It’s a creative and scientific dance, and the more you practice it, the more confident you’ll feel customizing every product to perform like magic.
Storage & Shelf Life Tips for Infusions
Okay, let’s talk about something many beginner formulators overlook, but pros never do: how to store your infusions and how long they’ll actually last. You’ve taken the time to infuse those gorgeous herbs, now let’s make sure all that botanical goodness stays safe, stable, and effective.
Oil-Based Infusions
These are more forgiving, but they still need care.
- Always strain well, any leftover herb particles can mold or rot.
- Add a natural antioxidant like Vitamin E or ROE (rosemary oleoresin extract) to delay oxidation.
- Store in a dark glass bottle, away from heat and light.
- Shelf life: around 6 to 12 months, depending on the carrier oil and conditions.
Pro tip: Sniff your oil. If it smells greasy, rancid, or “off,” it’s time to let it go.
Water-Based Infusions
These are where things get tricky. Without a preservative, water infusions are like an open invitation for microbes.
- Use immediately or refrigerate and use within 3–5 days.
- If you’re keeping it longer, you must preserve it, either with a broad-spectrum preservative or by converting it into a tincture or glycerite.
Tinctures (Alcohol-Based)
These are shelf-stable if made properly, at least 25–30% alcohol content by volume.
- Keep in amber or cobalt glass bottles.
- Store in a cool, dark cabinet.
- Shelf life: 1–3 years.
Glycerites (Glycerin-Based Infusions)
If you’re using 50% or more glycerin (and water-free), you’re generally good to go.
- Still, check for signs of mold or cloudiness over time.
- Shelf life: about 1 year when stored properly.
Vinegar Infusions
Another lovely self-preserving option, especially when the vinegar content stays high.
- Ideal for scalp and skincare use.
- Store in glass (avoid metal caps).
- Shelf life: around 1 year.
Bonus Tip from My Lab:
Label everything. Seriously, name of herb, solvent, infusion date, and any additives. You’ll thank yourself later when you’re formulating at midnight and can’t remember what’s what!
Proper storage isn’t just about avoiding spoilage, it’s about respecting the herbs and ensuring your final product stays as potent and safe as the day you made it.
Priya’s Pro Formulator Tips: Getting the Most Out of Your Herbs
Let’s be honest, herbs are magical, but they’re not going to do all the work for you. If you want your infusions to be more than just colored oil or fragrant water, you’ve got to treat those botanicals like the high-performance ingredients they are. And that means being intentional at every step.
Here are my tried-and-true tips that I use every single time I infuse:
1. Always Start with Quality Herbs
I know this sounds obvious, but trust me, it makes a world of difference.
- Use organic, dried herbs when possible.
- Avoid herbs that look dull, smell musty, or have lost their color.
Fresh herbs are lovely but can introduce moisture and reduce shelf life, so use them only if you’re making a fresh-use product with refrigeration.
2. Grind or Bruise, But Don’t Pulverize
A light crush helps release the good stuff.
- Break down whole herbs with a mortar and pestle or chop them with scissors.
- Avoid making a fine powder unless you’re straining through cheesecloth or filter paper, otherwise, you’ll have sediment in your final product.
3. Respect Herb-to-Solvent Ratios
This is where you shift from “DIY” to “pro formulator.”
A general rule for oil infusions is 1:5 (1 part herb to 5 parts oil) by weight.
For tinctures, follow a proper ratio depending on alcohol strength and plant part.
The more consistent your ratios, the more replicable, and stable, your formulations become.
4. Combine Infusion Techniques for a Powerhouse Effect
Sometimes I do a double infusion, start with a cold infusion, then gently heat it after straining to pull even more actives.
Or I blend different infusion types, like adding a water-based glycerite to an oil-based balm for a multi-phase botanical hit. Yes, it takes extra steps. But oh, the results.
5. Don’t Forget to Protect Your Final Product
After all that work, don’t let it go bad.
- Add Vitamin E to oils.
- Preserve water-based infusions if you’re not using them immediately.
- And always strain thoroughly, even tiny particles can shorten shelf life.
Formulating is both an art and a science. The more love and precision you pour into your herbal extractions, the more your finished product will sing, visibly, aromatically, and on the skin.
Sample Recipes for Each Infusion Method
Now that you know the why and how of herbal infusions, let’s get our hands into what we love most, formulating! These sample recipes are designed to help you practice each infusion technique with intention. Think of them as templates, you can always tweak them based on your preferred herbs, skin concerns, or product style.
Cold-Infused Calming Oil (For Sensitive or Inflamed Skin)
Base: Jojoba oil (or any stable, lightweight carrier oil)
Herbs: Calendula petals, Chamomile flowers, Rose petals (dried)
Method:
- Lightly crush the herbs and add 1 part herb to 5 parts oil.
- Infuse in a clean glass jar in a cool, dark place for 4–6 weeks.
- Shake gently every few days.
- Strain and bottle in amber glass.
Perfect as a baby oil, facial oil, or massage base.
Heat-Infused Hair Growth Oil
Base: Coconut oil or Sesame oil
Herbs: Bhringraj, Amla, Brahmi (dried powders or chopped whole herbs)
Method:
- Mix herbs into oil at a 1:5 ratio.
- Heat gently using a double boiler for 2–4 hours at 40–50°C.
- Let cool, strain through muslin cloth, and add Vitamin E.
- Store in a dark bottle.
Great for scalp massage and strengthening hair roots.
Glycerite for Sensitive Skin
Base: Vegetable Glycerin + Distilled Water (70:30 blend)
Herbs: Rose petals and Aloe Vera powder
Method:
- Add herbs to the glycerin blend (1:5 herb-to-solvent ratio).
- Infuse in a sealed jar for 3–4 weeks, shaking gently daily.
- Strain well and bottle.
Use in serums, hydrating mists, or light cleansers.
Tincture for Acne-Prone Skin
Base: Grain Alcohol (40–50%)
Herbs: Neem, Gotu Kola, Turmeric
Method:
- Mix dried, ground herbs with alcohol (1:3 to 1:5 ratio).
- Infuse in a dark bottle for 2–3 weeks, shaking daily.
- Strain and store in amber dropper bottles.
Use in spot treatments or in diluted water-based products with preservation.
Vinegar Hair Rinse
Base: Raw Apple Cider Vinegar
Herbs: Nettle, Rosemary, Hibiscus
Method:
- Combine herbs with vinegar in a glass jar (1:4 ratio).
- Steep for 2–4 weeks, shaking occasionally.
- Strain and dilute 1:5 with water before use on hair.
Balances scalp pH, adds shine, and helps reduce dandruff.
Each of these recipes reflects a technique, a purpose, and a mindset. Use them as inspiration, but always remember to test, tweak, and trust your intuition as a formulator. The real magic? That comes from how you bring these botanicals to life in your own unique way.
Conclusion
If you’ve made it this far, you already know, infusion isn’t just a technique we use in formulation. It’s a mindset. It’s about slowing down, tuning in, and respecting the rhythm of nature while blending it with the precision of science.
Whether you’re steeping chamomile in oil for a baby balm or crafting a potent turmeric tincture for acne care, you’re not just making skincare, you’re building a relationship with your ingredients. And that relationship? It shows up in the texture, the scent, the performance, and the energy of your final product.
As a formulator, the real power lies in your ability to choose the right method for the right purpose, not because a blog said so, but because you understand the herb, the medium, the skin need, and the science behind it all. That’s when your creations stop being DIYs and start becoming professional, intentional formulations.
So take this knowledge, experiment boldly, and most importantly, trust your hands. Your next infusion could be the beginning of a formula that transforms someone’s skin (or maybe even their self-care ritual).
Keep infusing. Keep formulating. Keep making it magic.


