If you enjoy making homemade Skin Care Products, this blog is for you because it outlines the most important steps and considerations while preparing your own cosmetics at home.
Creating homemade skincare products is a universal tradition. India, the hometown of Ayurveda, has a long history of using herbal and natural products. People are increasingly motivated to use homemade products.
With the imposition of a lockdown due to the Corona pandemic, the opportunity for consumption of homemade products increased significantly. However, it is recommended that you have a basic understanding of how to make homemade products.
Let’s learn more about different points you must not forget while making your own skin care products.
We want you to get the most out of your natural cosmetic ingredients to use them correctly and, most importantly, make safe cosmetics.
Here are 8 Essential Tips For Making Homemade Skin Care Products
1. Know your Ingredients
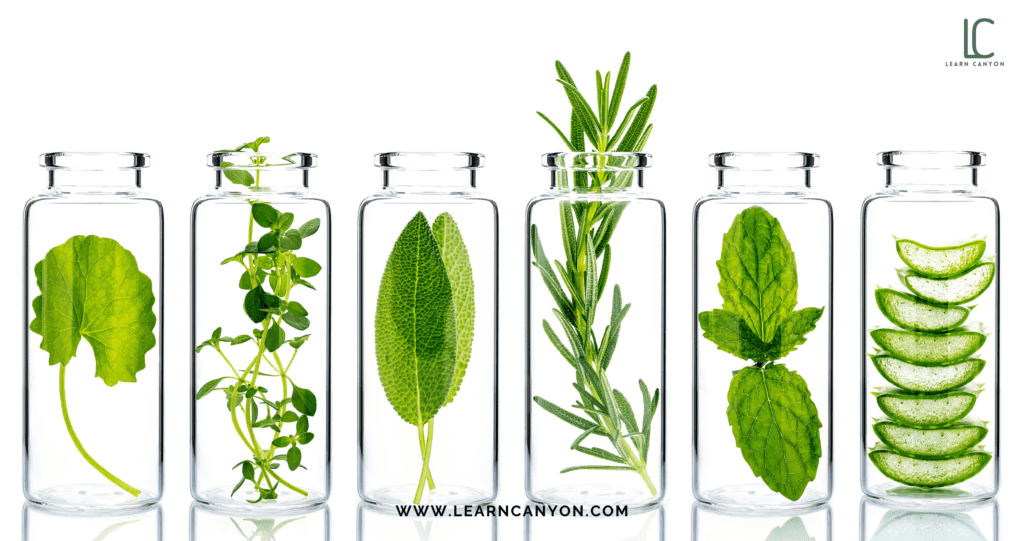
The first thing anyone should know is which ingredients are best for specific skin concerns such as acne, pigmentation, blemishes, wrinkles, and so on. This is because selecting the right ingredients for the formula will be a boon, whereas anyone wrong ingredient will be a curse. When formulators choose herbal ingredients then they must know at least
- Past History of the material
- Description – For the identification of the material
- Chemical Composition of raw ingredient –For nature and purpose of use
- Which part of the plant has the highest active constituents – Same part should be used
- The procedure of isolating active constituent from raw ingredient – So that correct method and solvent should be used
I think I have confused you a lot, Let me explain with an example to clear up your confusion, you are planning to prepare a shampoo and you have chosen Embellica (amla) for it then,
- Past history: Amla is used in Ayurvedic medicine internally as well as externally.
- Description: It is organic. Fresh fruit is yellowish green in colour, after drying its colour changes to blackish brown.
- Chemical Composition: Rich in Vitamin C, Flavonoids, etc
- The procedure of isolating active constituents from raw ingredients – Vitamin C is water soluble and can be extracted using water as a solvent. i.e Water extract of amla can be used in products if you are adding it for its Vitamin C content.
Nothing can stop you from creating the Best Homemade Skincare Product if you are successful in selecting the best ingredients. To begin making your own skincare product, you must first understand the proper ratio of each ingredient to the vehicle or base.
An excessive or insufficient amount may ruin the overall formula and effect. You should not choose ingredients that are not only good for your skin but also good for your health.
Numerous blogs and videos are available on YouTube, but we must exercise caution when using them.
Incorporate as far as natural materials including preservatives, perfumes, antioxidants, or other additives. Preservatives can help to prevent microbial growth and extend the life of a product.
Yeast, bacteria, or fungi produce numerous contaminants. As a result, preservative protects against it. However, make certain that these ingredients do not react with each other and form an obnoxious odour i.e they should be compatible with each other.
2. Use proper weighing scales
When weighing quantities of ingredients and mixing them in a finished product, weighing or measuring is an extremely important step. After transfer, there should not be more than a 0.5% difference in weighed and transferred quantity.
Although there are a few factors to consider for accurately weighing, the process is fairly simple. Butter paper would have to be weighed before and after transfer to determine the true weight of the material when weighing small quantities.
If you are weighing multiple ingredients, each one must be weighed separately.
Begin by weighing with a set of digital scales that are calibrated in milligrams. The best weighing scale for ingredients is one that is compact, highly accurate, robust, and has an enclosure.
Ensure the weighing pan is clean and the scale correctly calibrated. Place your material on the scale on the butter paper using a spatula. Just keep in mind to take the butter paper first! Finally, enter the weight into the display.
3. Use of proper Utensils
Any metal other than stainless steel, as well as plastic, should be avoided. Copper and brass react with raw materials, increasing the likelihood of spoilage. The best option is borosilicate glass, which can be used even if the ingredient is heated or melted directly on the burner.
All utensils you can use should be collected before starting any activity because running for the spatula is not wise after starting the manufacturing procedure.
4. Use dry, clean, and sterile utensils
It is very important to use clean dry and sterile utensils. Sterilization of utensils at home can be done by keeping clean dry utensils in an oven maintained at 500 C for one hour or wiping them with 70% ethanol. In case you use moist utensils there are chances of spoilage even if you put in the best preservative system.
5. Carry out all activities in the aseptic technique
The place where you are performing should be clean and aseptic. Ensure that the room is free from dust, insects, mosquitoes or any flies or rodents. The room temperature should be comfortable. It is advisable to wear all types of protective garments such as hand gloves, caps, masks, etc.
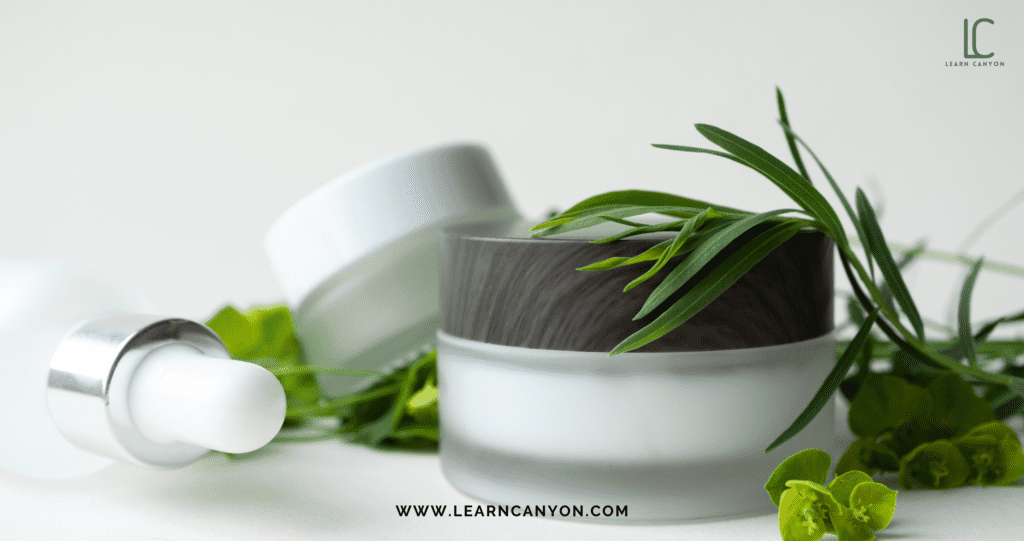
Some aseptic techniques are given below;
• Always use 70% ethanol to clean your hands and your work area.
• Before using the containers, utensils, and spatulas, wipe them with 70% ethanol.
• Avoid directly pouring ingredients from bottles.
• Always cap bottles and flasks after use and tape or place them in closed containers in re-sealable bags to prevent microorganisms and airborne contaminants from entering.
• Never expose a sterile flask, bottle, petri dish, or another container to the environment until you are ready to use it.
• Only use sterile glassware and equipment.
• When performing sterile procedures, avoid talking, singing, or whistling.
• To minimize contamination, conduct your experiments as quickly as possible.
6. Prepare the appropriate amount
Because it is difficult to predict the expiry date of homemade products, it is critical to producing them in smaller quantities. Because using new skin care formulations rather than the same ones over and over is preferable.
However, you can add preservatives and antioxidants to keep it from spoiling.
Also, when using a water-based product, make sure it’s in a small amount suitable for one-time use.
7. Use proper container
Cosmetic container materials are a source of concern for both safety and sustainability. The container must protect the product from environmental elements while also moving toward environmentally friendly.
Containers should not be affected by factors such as chemical composition, and biology. It is critical that the container be resistant to mold and fungus as well as contaminants.
The container must be made of materials that can withstand extreme heat or cold. It must also protect the product from ultraviolet rays, which can cause damage.
The container should not absorb product ingredients. Cosmetics have traditionally been housed in plastic or glass containers as these are inert and do not react with raw materials.
8. Store in a cool dry place
Products will last longer if they are stored in a cool, dry place. If you expose your new serum to too much light, it may appear iridescent.
However, it has the potential to degrade the quality of your product as well as the damage it. Skin care products should be stored at room temperature and out of direct sunlight.
However, if you want to maximize the shelf life of your skincare products, you should consider refrigerating some of them. The cooling effect of a refrigerator can be used to preserve products on its own.
There are a few things to consider when storing skincare products in the bathroom.
First, ensure that all products are tightly closed and sealed to prevent water or moisture from entering.
Second, keep products cool and dry, away from direct sunlight or heat. Finally, keep products away from children. By following these simple guidelines, you can extend the life and effectiveness of your skincare products.
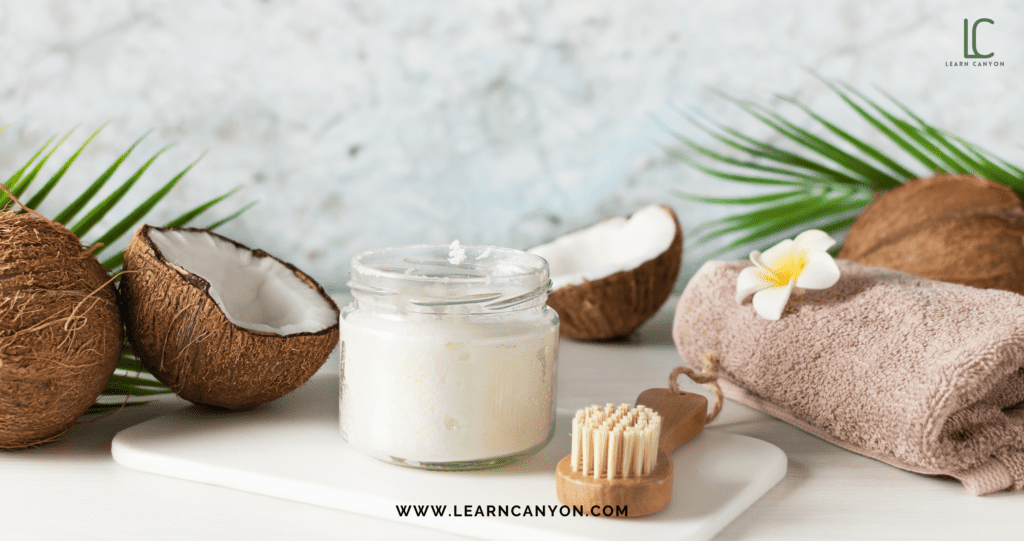
Advantages of preparing your own skincare products
- Nonadulterated ingredients, which are extraordinarily rich and give your skin immense benefits, can be used.
- Anything rich in several vitamins and minerals, such as vitamin A, beta-carotene, C, E, folic acid, and choline, with antioxidants can be added in a simple formula.
- All these nutrients are vital in improving the health of damaged, dry, and malnourished skin.
- You can prepare not only a serum but it is also quite effective creams and lotions which act as soothing the skin from irritation, sunburns, and other cosmetic treatments such as waxing or shaving.
- More Effective formulations can be designed especially for your skin.
- You can use the fresh product.
- The less expensive product can be made.
If you want to learn more about natural organic skin care products and how they’re made. If so, please browse our website for some fantastic skin and hair care products. We want to bring freshness into your lives. Let us feel the glow of genuine handmade products with less effort and in less time.






3 thoughts on “8 Essential Tips For Making Homemade Skin Care Products”
Thank you for this guide. Many people want to try natural skin care today, which benefits us! Keep on posting!
It is indeed important to carefully check the claims of organic cosmetics brands. While many aim to be safer and eco-friendly, not all “organic” labels are the same.
Great tips for making homemade skincare products! This guide will definitely help in creating safe and effective skincare at home.